So, you wanna rock a killer Medusa headpiece, huh? Whether you're prepping for a costume party, Halloween, or just feeling super creative, crafting your own DIY Medusa headpiece is a total game-changer. This bad boy (or girl, rather) will turn heads and send waves of envy through any crowd. And trust me, making one yourself is easier than you think. Let’s dive in and unleash your inner goddess!
Creating a DIY Medusa headpiece is not just about slapping some snakes on a headband and calling it a day. It’s an art form that combines creativity, patience, and a little bit of madness. But don’t worry, we’ve got your back. This guide will take you step by step through the process, ensuring you end up with something that screams "Medusa approved."
And hey, why stop at just wearing it? Once you’ve mastered the art of creating your own Medusa headpiece, you’ll be ready to tackle all sorts of DIY projects. So grab your tools, fire up your imagination, and let’s get this party started!
Read also:Exploring Jrue Holiday A Champion On And Off The Court
Why DIY Your Own Medusa Headpiece?
Alright, let’s face it. Store-bought costumes can be expensive, and sometimes they just don’t cut it. When you DIY your own Medusa headpiece, you’re not only saving money, but you’re also creating something unique and personal. Plus, there’s something super satisfying about saying, “Yeah, I made this myself.”
Creating your own headpiece also gives you the freedom to customize it to your liking. Want your snakes to glow in the dark? Go for it. Want to add some sparkly gems? Do it. The possibilities are endless, and that’s the beauty of DIY-ing it.
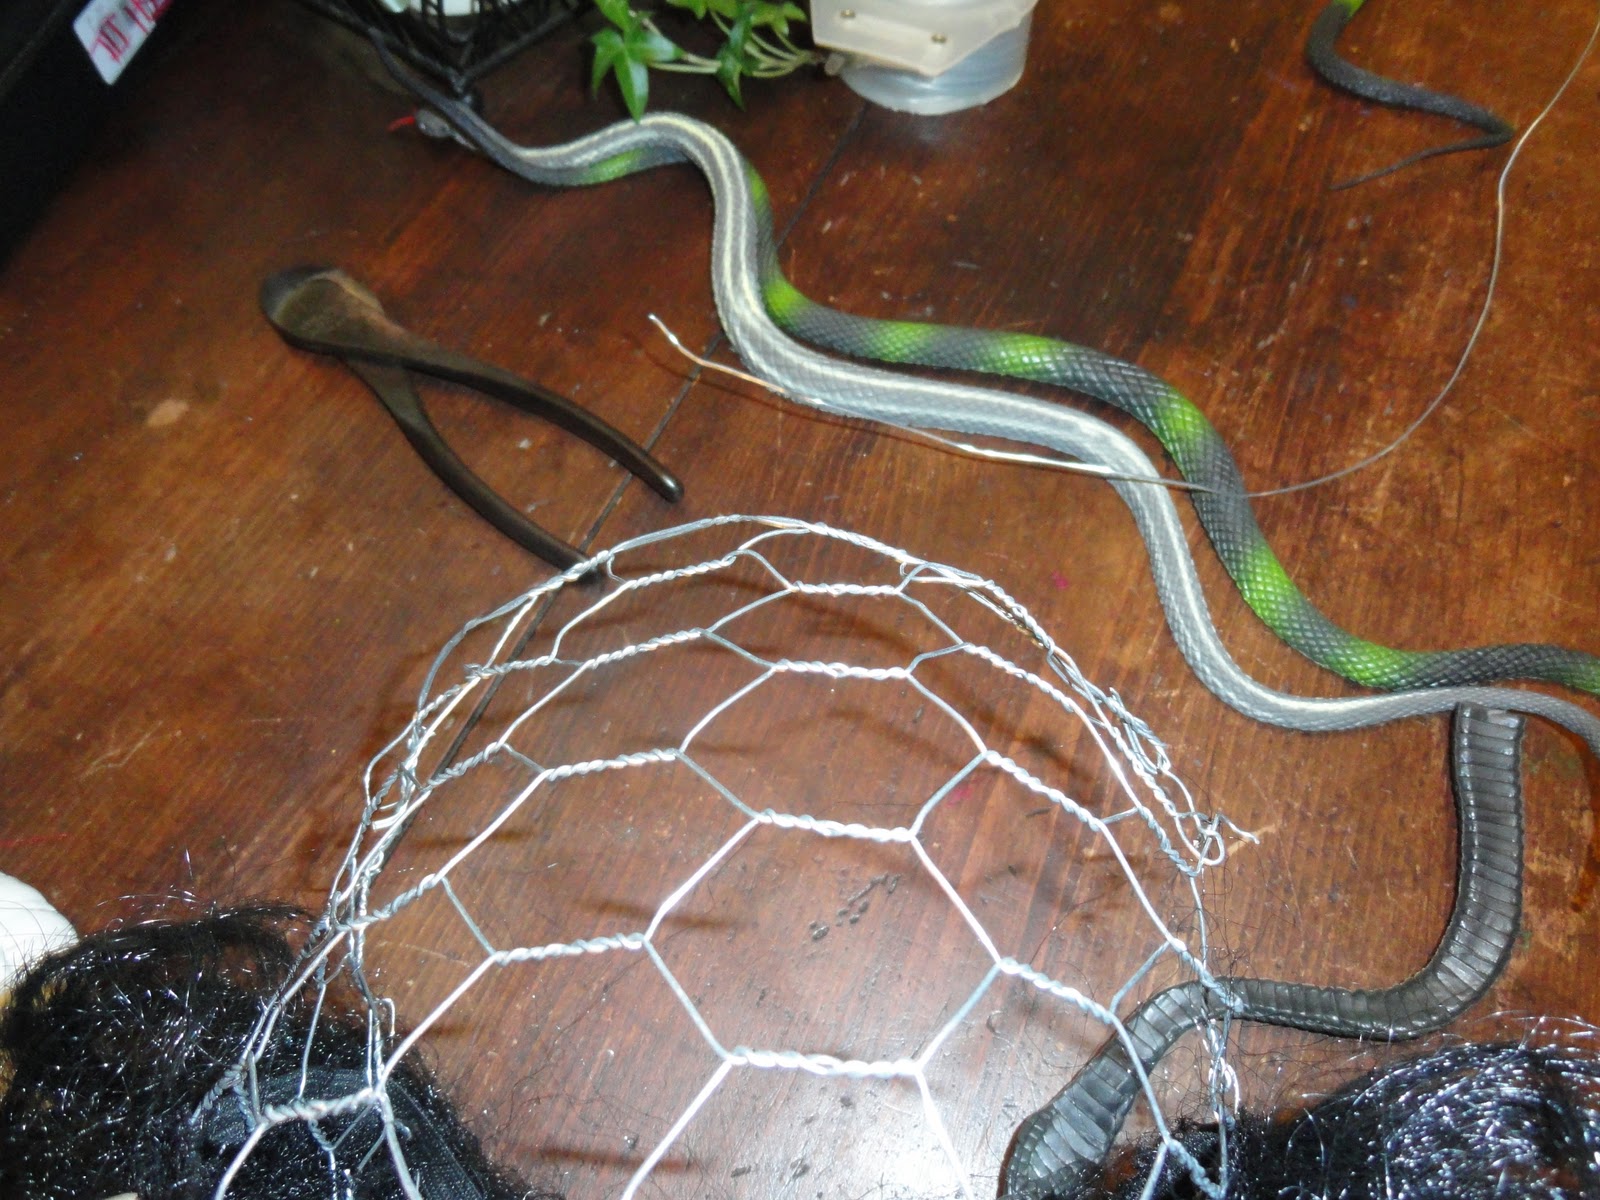
What You’ll Need for Your Medusa Headpiece DIY
Before we get into the nitty-gritty of how to make your Medusa headpiece, let’s talk about what you’ll need. Gathering your materials beforehand will save you a ton of time and frustration later on.
- Headband (sturdy and preferably black)
- Wire (22-gauge or thicker)
- Wire cutters
- Needle-nose pliers
- Hot glue gun and glue sticks
- Foam or Styrofoam balls (various sizes)
- Acrylic paint (green, brown, yellow, etc.)
- Paintbrushes
- Glitter glue (optional)
- Sequins or rhinestones (optional)
Step-by-Step Guide to Making Your Medusa Headpiece
Step 1: Create the Snake Bodies
First things first, you need to create the snake bodies. Take your wire and start twisting it around your fingers or a pen to create a spiral shape. This will form the base of your snake. Don’t worry if it’s not perfect—Medusa’s snakes were probably a little messy too.
Step 2: Add Texture to the Snakes
Now it’s time to add some texture to your snakes. Take your needle-nose pliers and start bending the wire to create little loops and curves. This will give your snakes that slithering look. You can also add some zig-zag patterns to make them look more realistic.
Step 3: Attach the Snakes to the Headband
Once your snakes are ready, it’s time to attach them to the headband. Use your hot glue gun to secure the snakes in place. Make sure they’re evenly spaced out and facing different directions for that chaotic, Medusa-vibes look.
Read also:Dc2 Ppv
Step 4: Paint Your Snakes
Now comes the fun part—painting your snakes. Use acrylic paint to give them that reptilian look. You can go for a solid color or mix it up with different shades. Don’t forget to add some highlights and shadows to make them pop.
Step 5: Add the Finishing Touches
Finally, it’s time to add the finishing touches. If you want your snakes to shimmer and shine, grab that glitter glue and go to town. You can also add some sequins or rhinestones for extra bling. The more sparkle, the better, right?
Tips for a Showstopping Medusa Headpiece
Here are a few tips to help you take your Medusa headpiece to the next level:
- Experiment with different snake sizes for added dimension.
- Use metallic paint for a more luxurious look.
- Consider adding LED lights for a glowing effect.
- Don’t be afraid to get creative with colors and patterns.
Common Mistakes to Avoid
While making your Medusa headpiece, there are a few common mistakes you’ll want to avoid:
- Using flimsy materials that won’t hold up.
- Not securing the snakes properly, which can lead to them falling off.
- Overloading the headband with too many snakes, making it uncomfortable to wear.
- Skimping on the details—those little touches make all the difference.
Where to Find Inspiration
If you’re feeling stuck or need some inspiration, there are tons of resources out there. Check out Pinterest or Instagram for some amazing Medusa headpiece ideas. You can also look at professional costume designs for inspiration. Just remember to put your own spin on things and make it uniquely yours.
Costume Pairing Ideas
Now that you’ve got your Medusa headpiece, it’s time to think about the rest of your costume. Here are a few ideas to help you complete the look:
- A green or gold dress with snake-inspired patterns.
- Snake-themed accessories like bracelets or earrings.
- Gold or bronze makeup for that ancient Greek vibe.
FAQs About Medusa Headpiece DIY
Can I use fake snakes instead of making my own?
Absolutely! If you’re short on time or not feeling crafty, you can definitely use fake snakes. Just make sure they’re small enough to fit on a headband and secure them properly.
How long does it take to make a Medusa headpiece?
It depends on your skill level and how elaborate you want your headpiece to be. On average, it can take anywhere from 2 to 4 hours.
Can I wear this for everyday use?
Probably not. While your Medusa headpiece is a masterpiece, it’s best saved for special occasions. Unless you’re feeling extra bold, of course.
Conclusion
Creating your own Medusa headpiece is a fun and rewarding project that anyone can do. By following this guide, you’ll be able to craft a headpiece that’s not only stunning but also completely unique to you. So what are you waiting for? Grab your materials and let’s get crafting!
Don’t forget to share your masterpiece with us in the comments below. And if you loved this guide, be sure to check out our other DIY tutorials. Until next time, happy crafting!
Table of Contents